May 13 through the 30th? Something like that. I told them it would be just a few days, lol. It turned out to be a few of weeks.
My long time friend Marsha was here at the farm to do some goat stuff with my wife. While here, Marsha mentioned that her grandson’s girlfriend has a Grand Cherokee that needs head gaskets and they couldn’t find anyone to work on it.
I told her we could do it and Marsha said they would likely take me up on that deal.
The next time I had @william-gregory in the shop, I told him about the opportunity. He seemed to think that might be the perfect way to step up our game with all our new tools and experience with the ATV stuff. We have hopes to expand our options for doing quality auto builds in the future. We talked about how this job and others could be a good way to keep reinvesting in our tools and abilities. This particular reinvestment seemed like it should be an A/C unit for the garage.
An A/C would be the biggest thing that will keep us out there getting stuff done in the summer. The garage has a decent heater in there for the winter, but last summer and even some days early this spring were pretty much just too hot out there to do much.
Anyway, back to the story…
A couple of weeks later, Marsha texted to see if we really did want to do the job.
Absolutely, we want to dive into a 2004 Jeep Grand Cherokee and replace the head gaskets. Who wouldn’t want to ride that struggle bus?
It’s funny because pretty much everyone I talked to winced and looked like they would rather do about anything than that.
Speaking of awesome opportunities though, I feel so blessed to be able to learn everything I need or want mostly on YouTube, but also with lots of great advice and help in forums. It would be really cool if we were using decentralized platforms like Odysee.com or Peakd.com, but the time will come for that.
A Little About The Media Process
My logging of the job with the camera is hit or miss, but I think I can tell the story well enough with what I do have.
I have about 500G of content to go through. I’m using a Panasonic GH5 with the Sigma 18-35 and mostly a GoPro 10 Black edited on my modded P52 ThinkPad running PopOS.
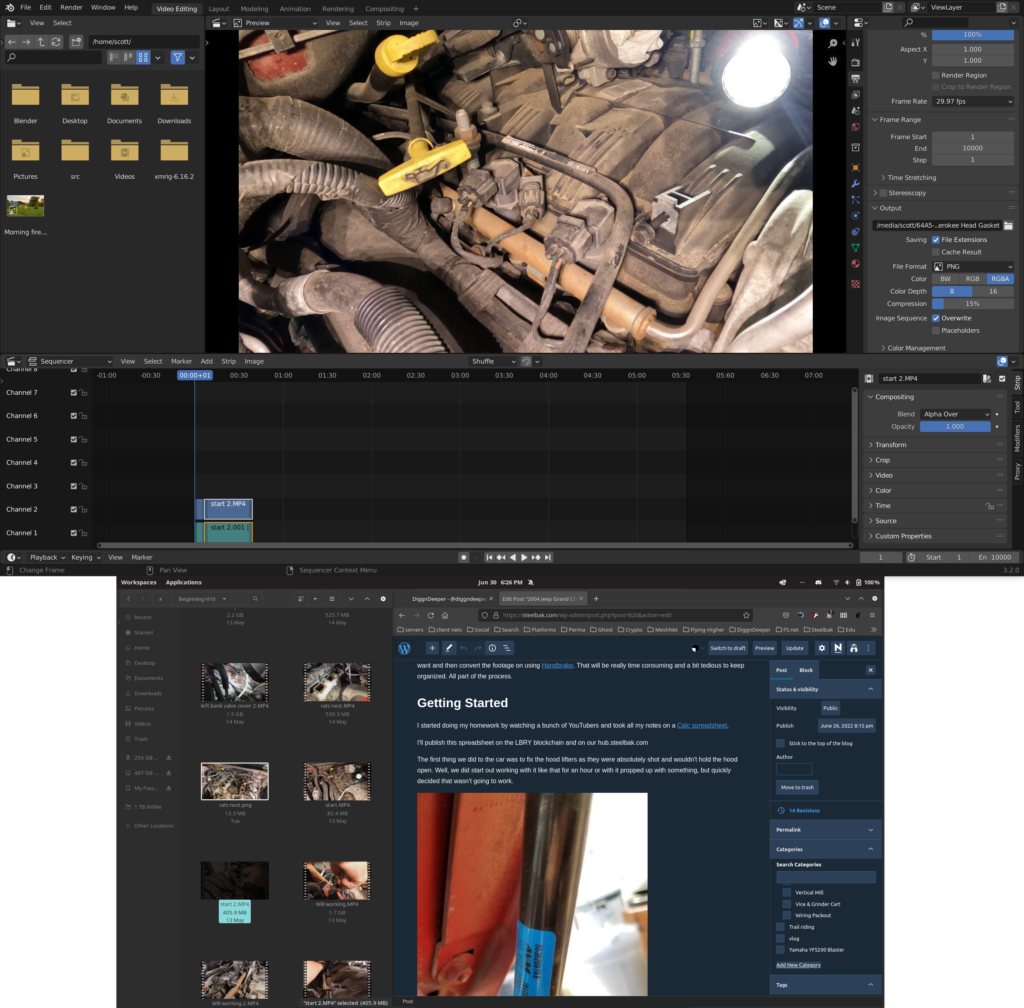
As I edit, I see that the GH5 and the Hero 10 are filming at different frame rates, so now I need to decide which I want and then convert the footage on using Handbrake. That will be really time consuming and a bit tedious to keep organized. All part of the process.
Getting Started
I started doing my homework by watching a bunch of YouTubers and took all my notes on a Calc spreadsheet.
I’ll publish this spreadsheet on the LBRY blockchain and on our hub.steelbak.com when I finally get all the editing done.
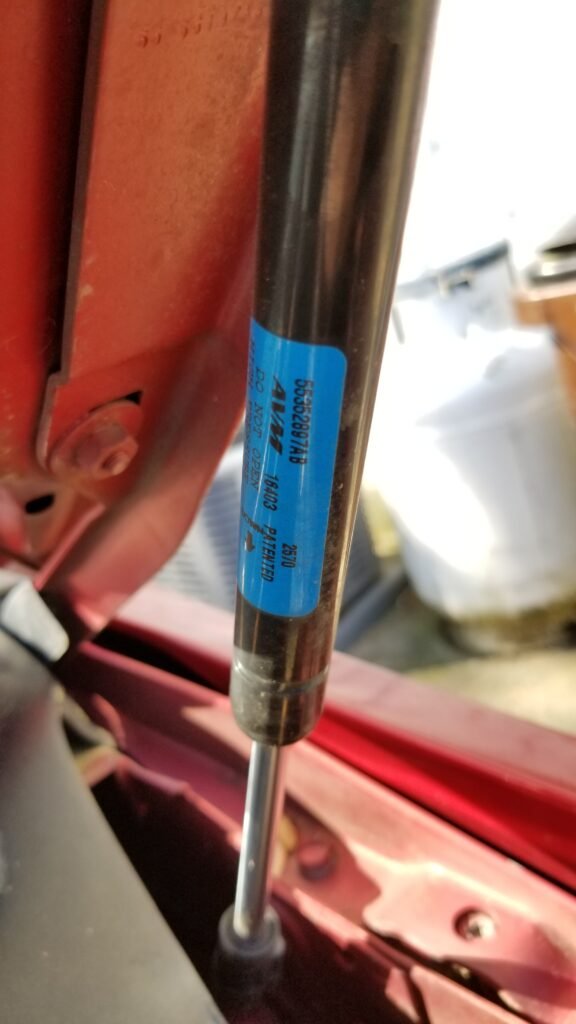
The first thing we did to the car was to fix the hood lifters as they were absolutely shot and wouldn’t hold the hood open. Well, we did start out working with it like that for an hour or with it propped up with something, but quickly decided that wasn’t going to work.
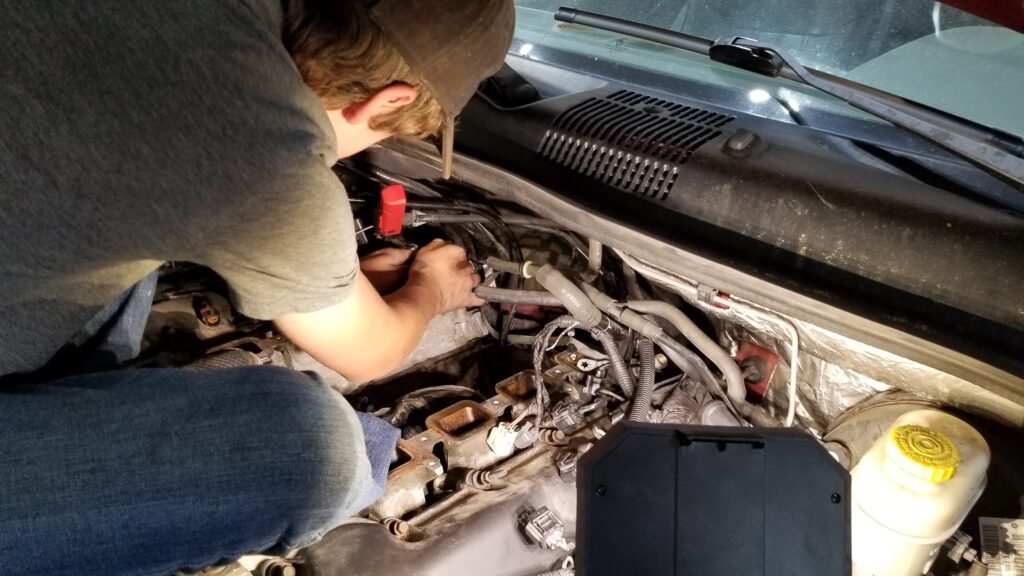
So, we started digging into removing the air box, ignition coils, injectors, fuel rail, intake manifold, and all the front accessories too like alternator, power steering pump… everything.
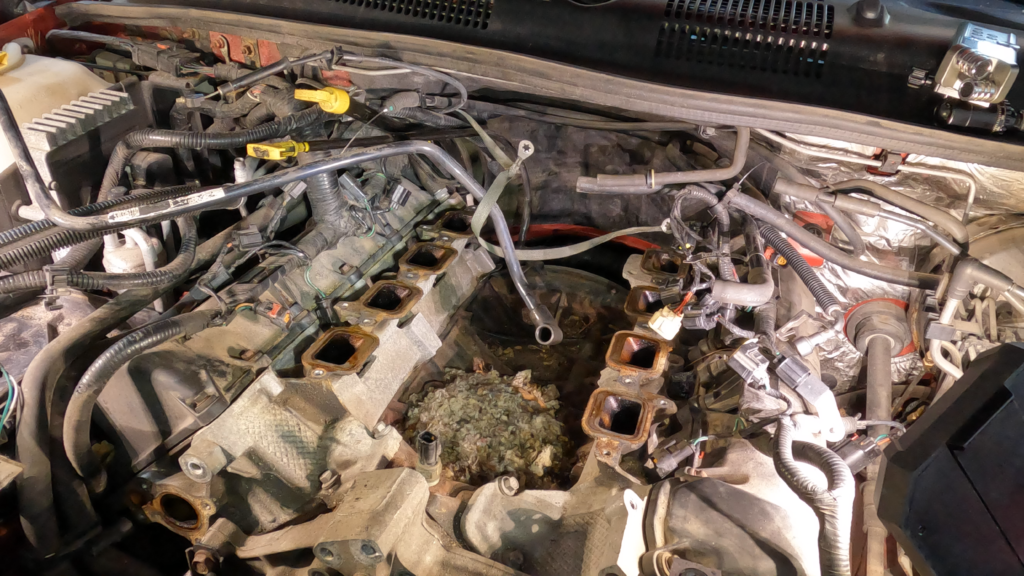
I didn’t get any pictures or video of anything at the start. That was dumb, but here is where I did start recording because I wanted to log all of this.
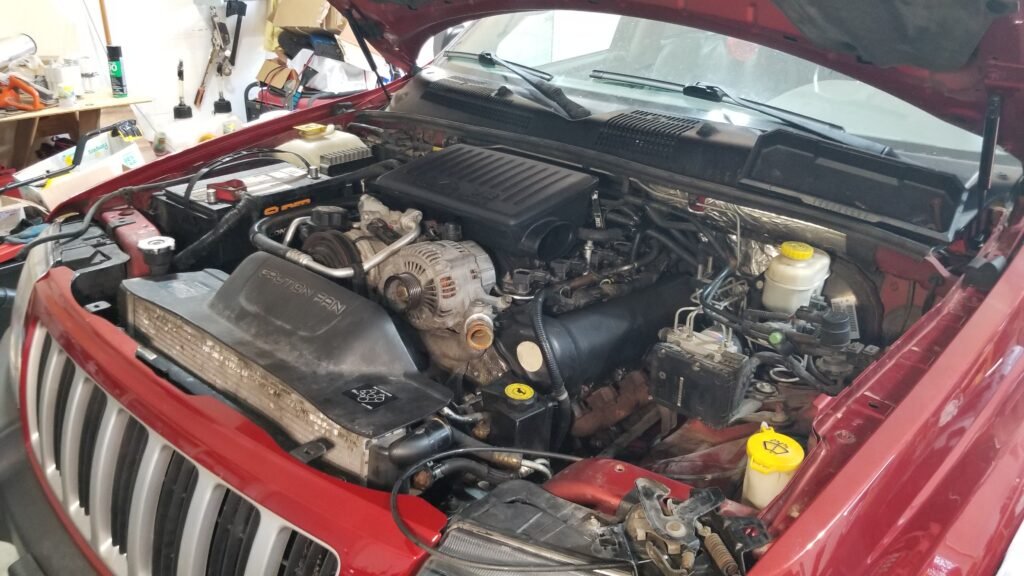
The only thing we did to this point was drain the oil and coolant, removed the battery and the air box and intake going to the throttle body you see in this picture.
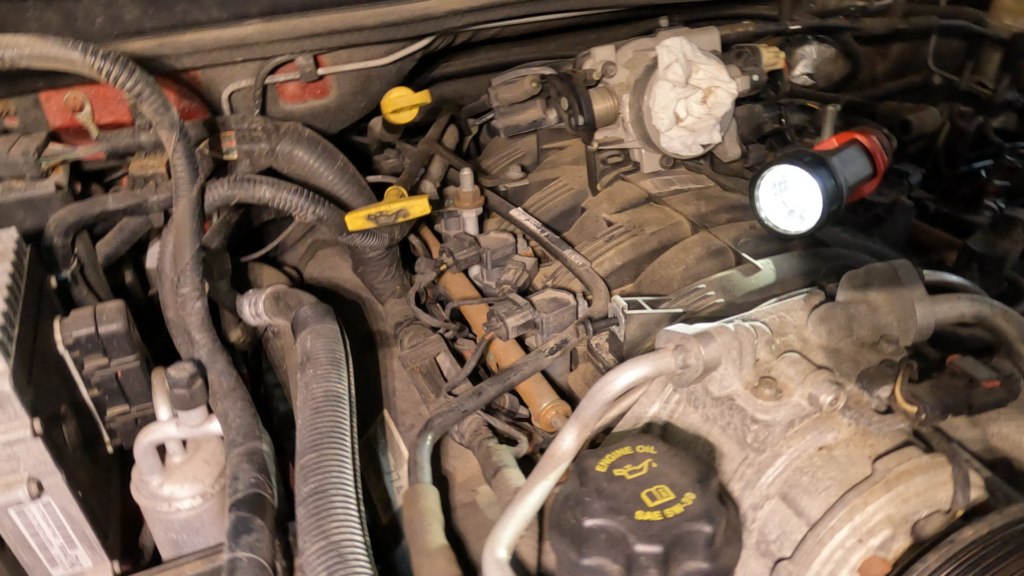

The injectors and fuel rail connections were really crunchy. They cleaned up well though.
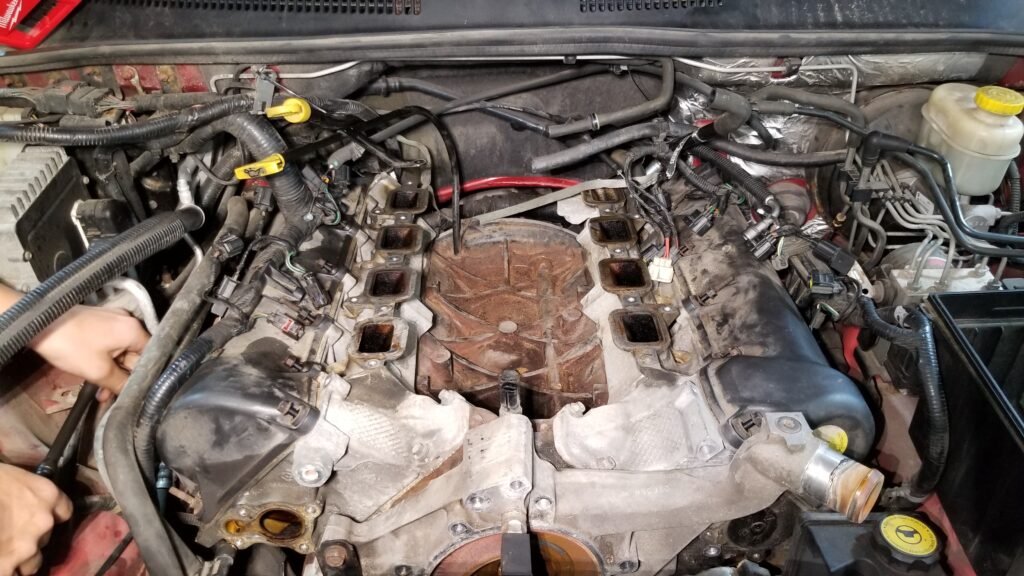

We finally got everything off that we needed to. Time to replace all the gaskets and seals with the kits we have, clean everything up and put it all back together again.
We did also replace the spark plugs. The old ones were toast. No better time to change them out than while we are in there already.
Timing Was Way Off
At first, I noticed that this was wrong, but didn’t really think much more of it.
Broken Timing Chain Guide Means A Lot More Work
Everything was going fine. Will and I were actually going on about how well things were going and wondering what the big deal was about doing head gaskets…
Well, we found out.
As soon as we were stupid enough to mouth off about how well things were going, the Struggle Bus struck.
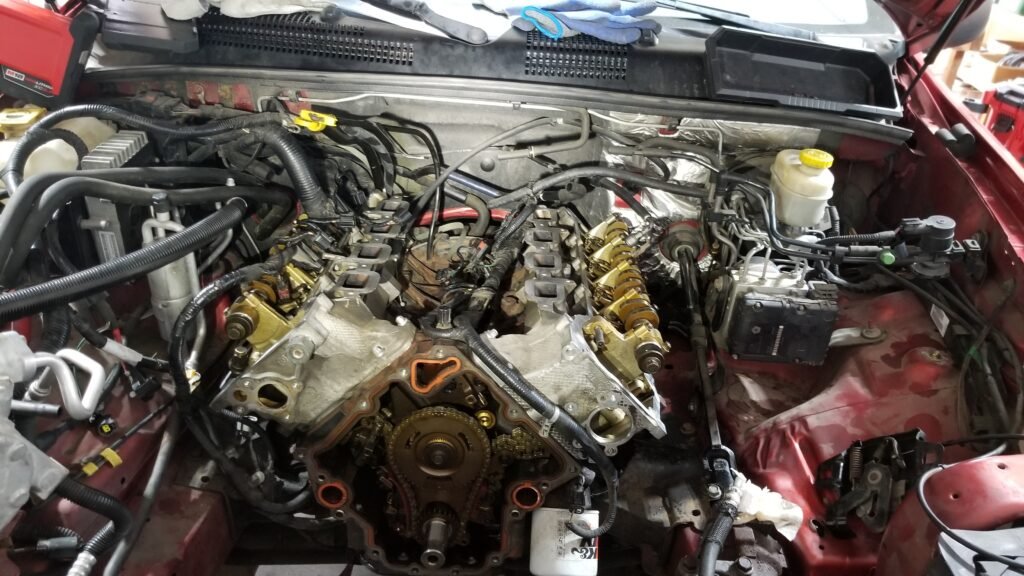
We had to remove a timing chain guide to get to the last head bolts and that’s what changed the course of my entire next week. It literally caused me to loose sleep a few nights – and that is not tolerated well here.
Once that timing chain guide broke, it meant we were going the long way for sure.
Pulled The Radiator (The Hard Way).
In order to get the timing chain cover off, we needed to get the harmonic balancer off and that meant the hydraulic fan was in the way.
Somewhere I got the idea that the fan could come out without the radiator, so that lead me down a terrible and completely unnecessary path.

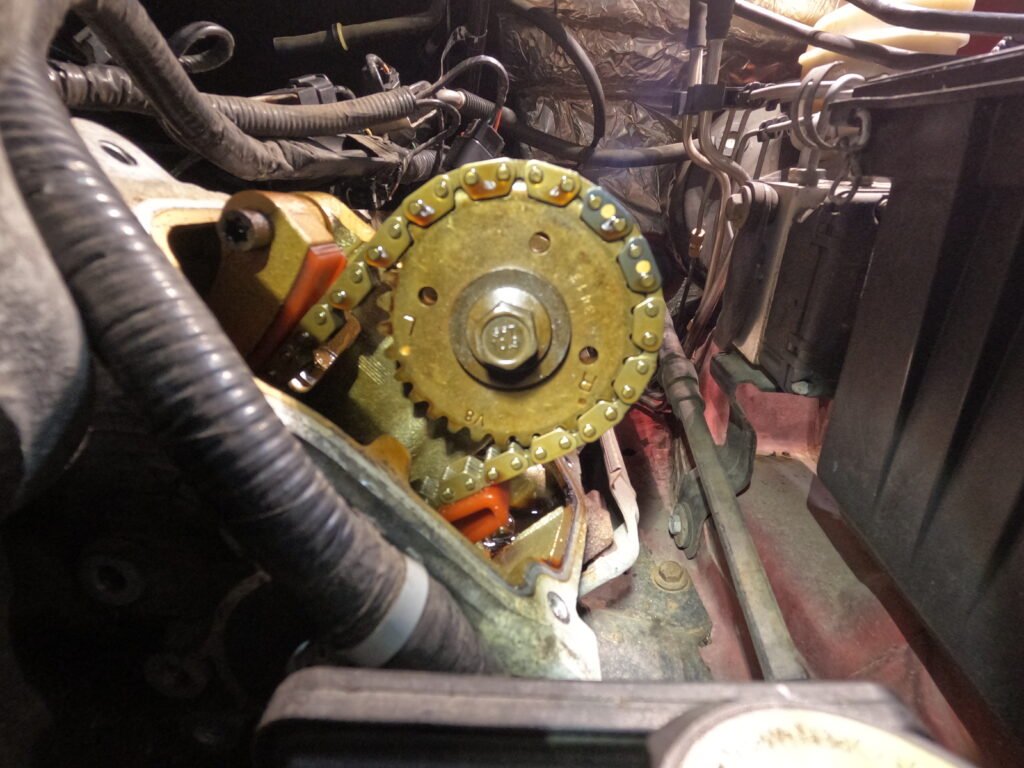
Finally dug down to the timing cover (above). This seemed like a real accomplishment after fighting with removing the radiator for so long.
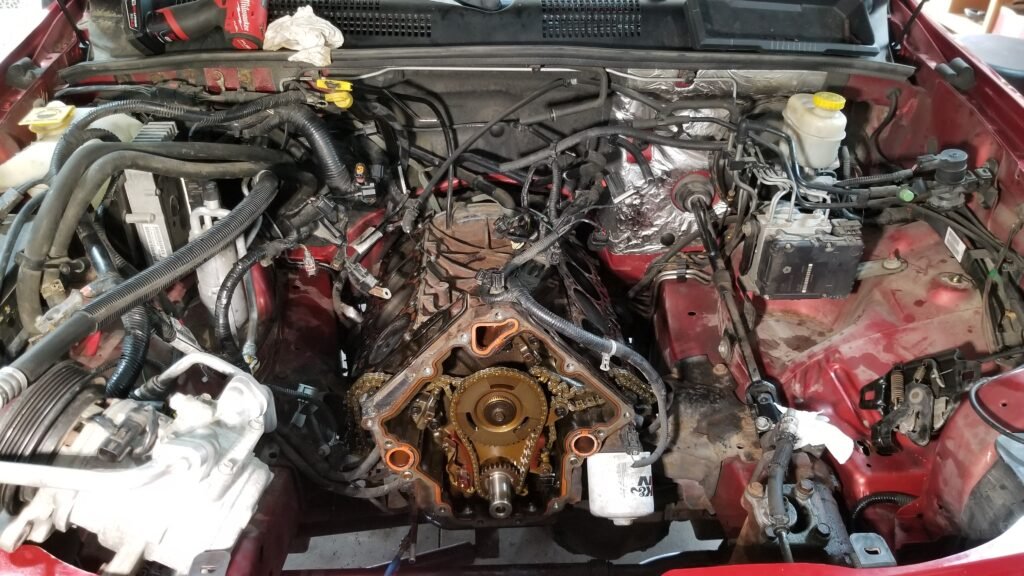
You can see the old timing chain cover gasket above and the new one below.
It’s hard to keep things clean with the engine in and trying to leave some of the components in place. Crud really tries to go where it isn’t supposed to be. I just went slowly and covered stuff the best I could and then also cleaned any debris that went in there as soon and thoroughly as possible.


Done
